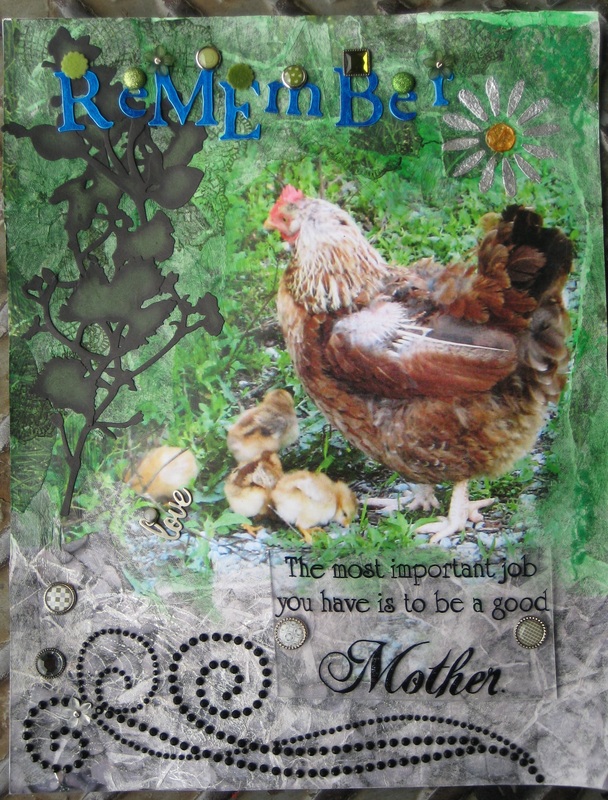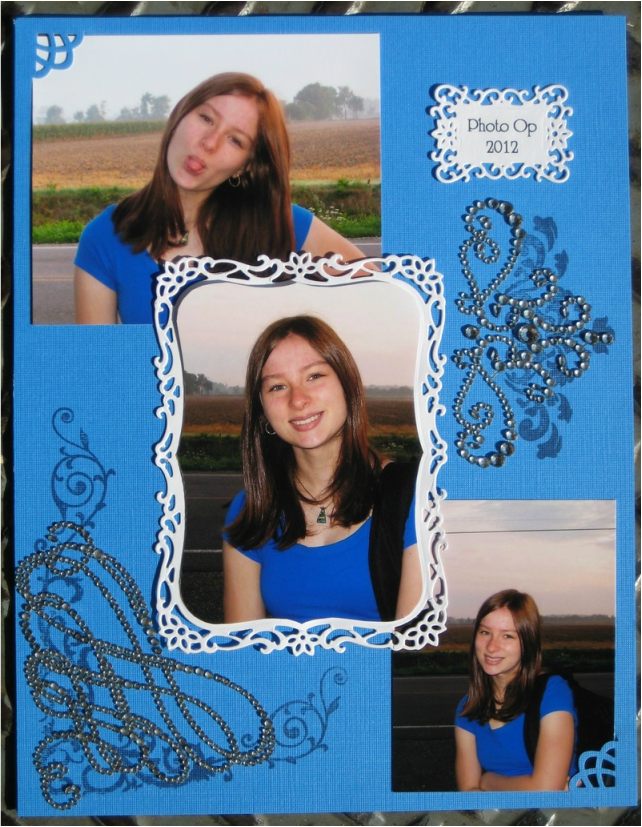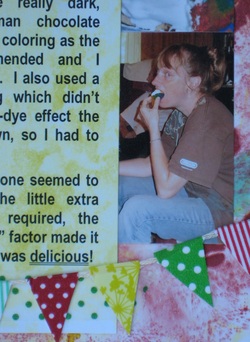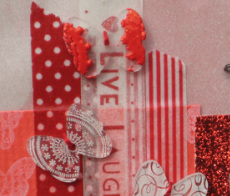
An old favorite and a new one. I made some butterfly buttons out of Shrinkies. I stamped the white ones with Stayzon ink and the red ones were stamped with pigment ink and sprinkled with red Zing embossing powder BEFORE shrinking. The embossing powder I hadn't done before... the color and texture are awesome, but all of the detail from the stamp was lost.
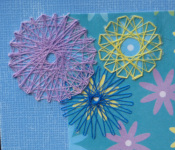
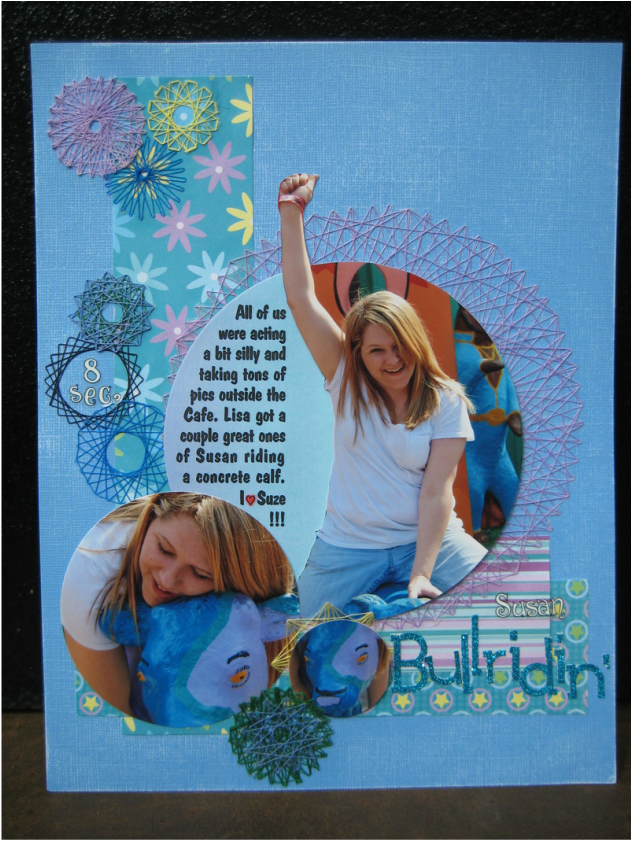
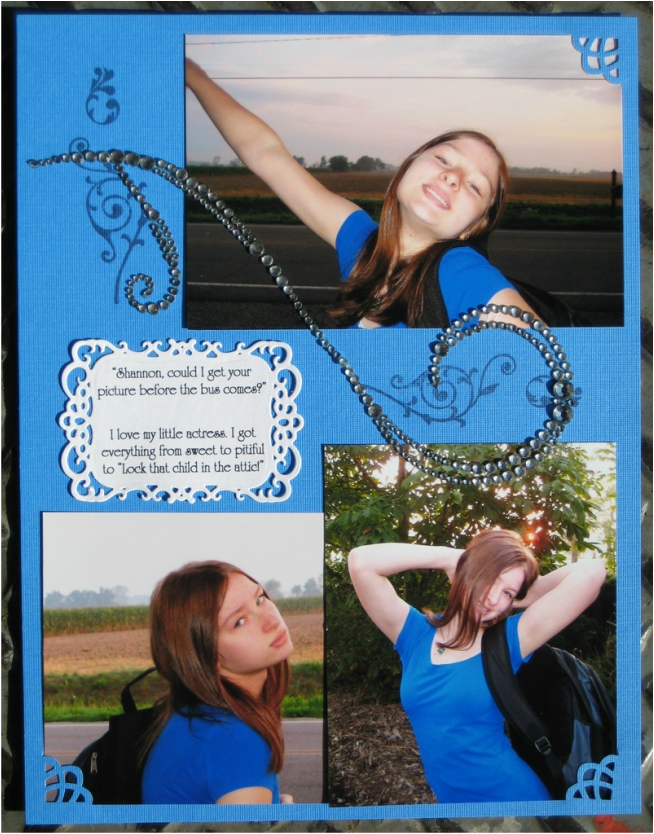
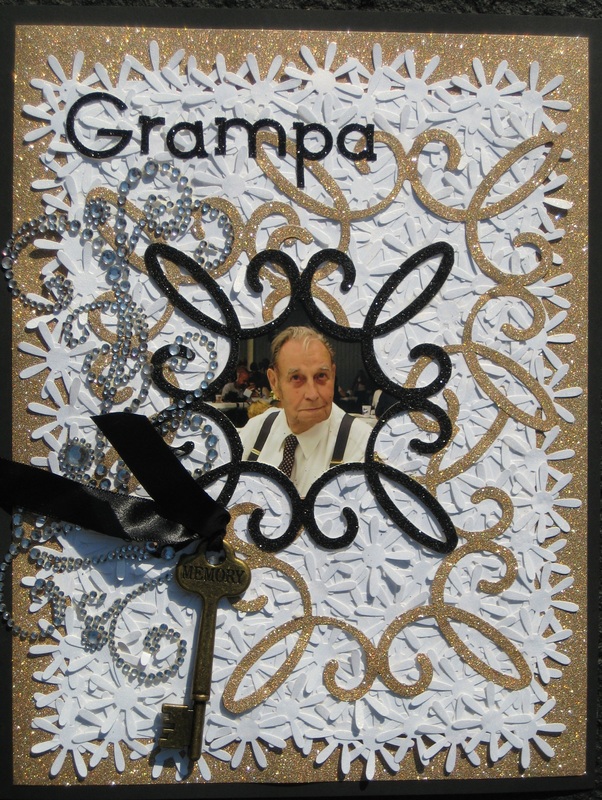
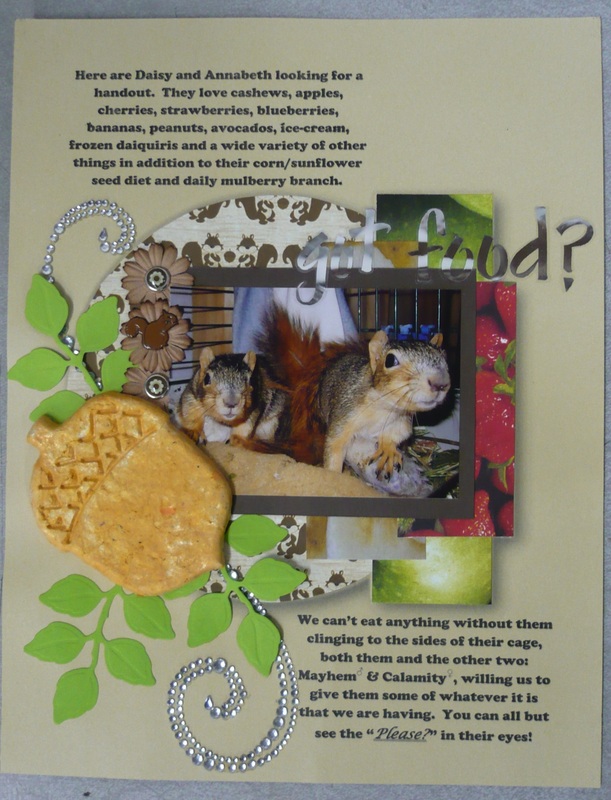
I found this idea on the Internet on a math website. Yes, my Peeps, math CAN be fun. A flashback to the 70's - String Art. Insert your pins into a piece of waxed paper on cardboard, string your design, and coat lightly with glue. When dry, remove the pins, and VOILA! - adorable scrappy embellishments ready to glue onto your layout!!!
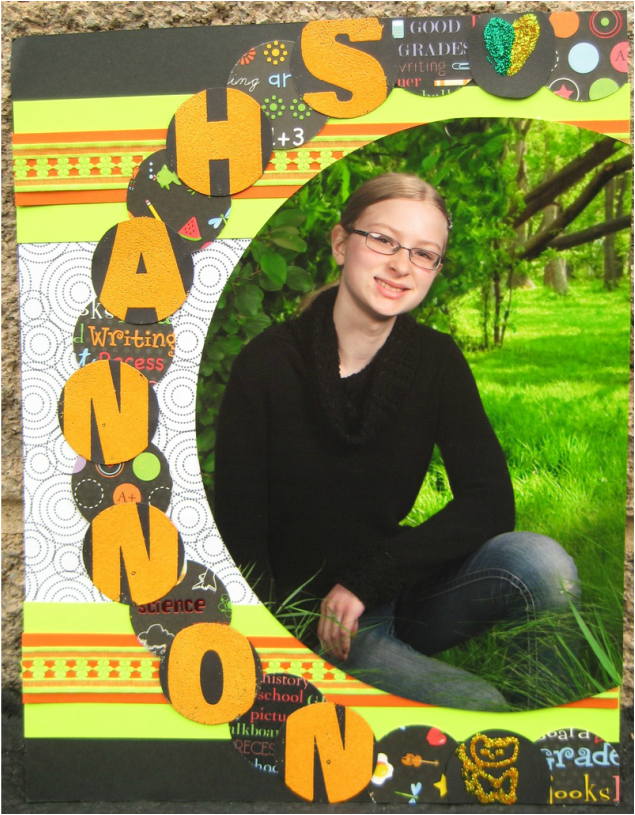
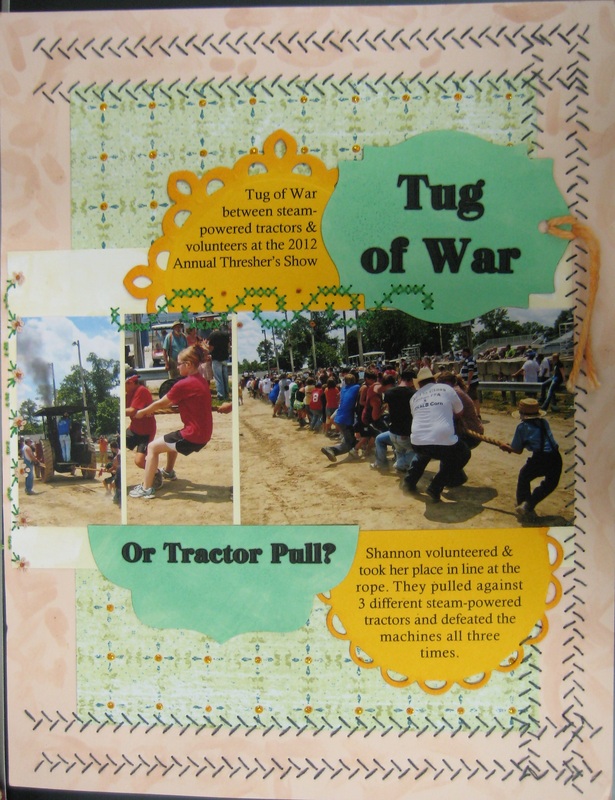
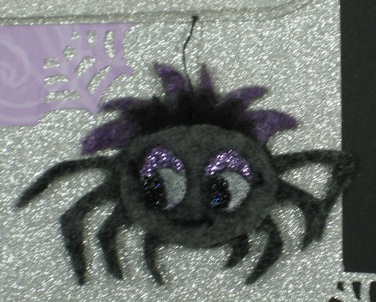
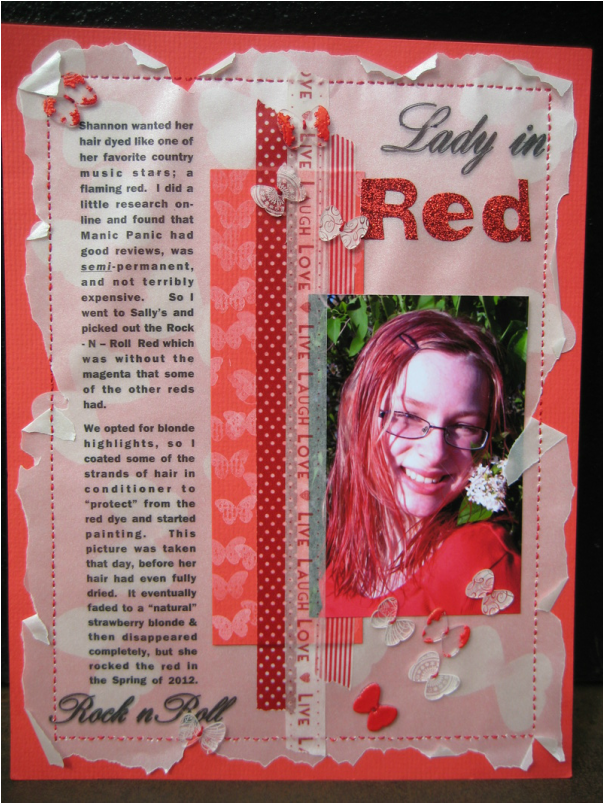
This first layout was made for a color and sketch challenge and was PERFECT for the picture of my darling daughter when her hair was Rock-N-Roll Red.
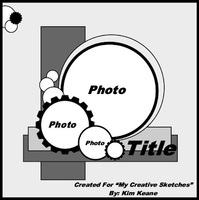
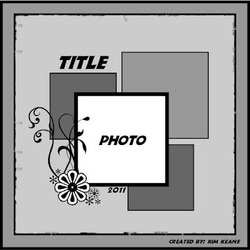
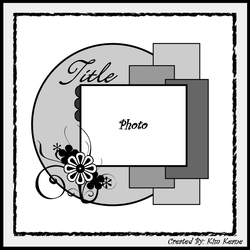
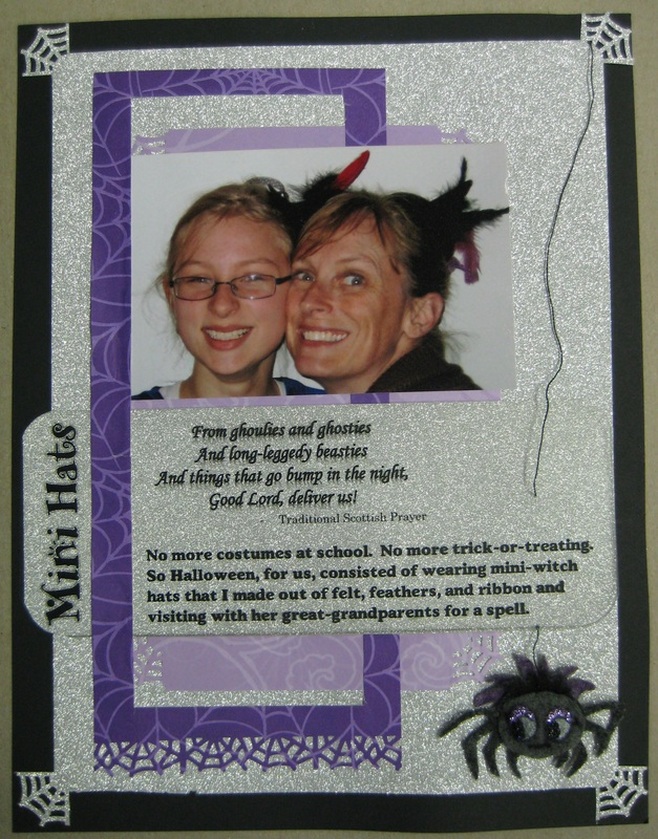
Here is September's sketch from My Creative Sketches. I had been looking for the PERFECT idea for the pictures I had of my friend, Susan. I liked the sketch and when I saw the tutorial for the sketch art, I knew this was the one.